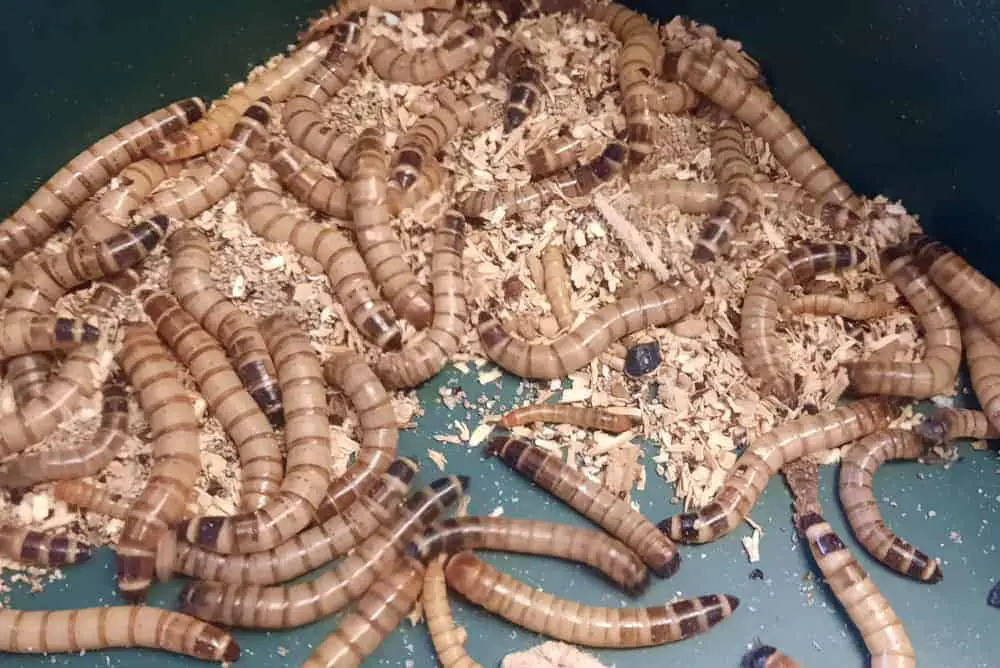
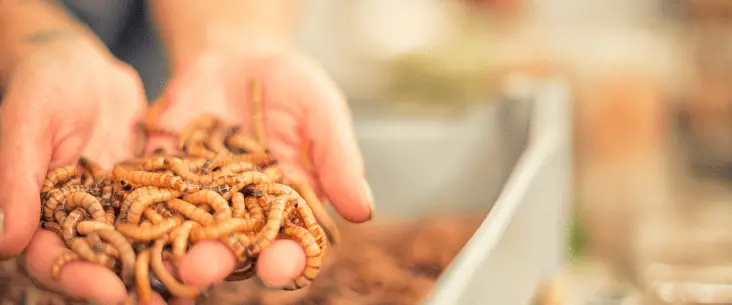
Superworms are popular feeder insects that you can use to feed many different pets, like reptiles, amphibians, hedgehogs, rodents, tarantulas, and praying mantises. In many countries, superworms — also called Morio worms or king worms in some countries — are rather cheap food as well. But it is not always that easy to have them steadily available. If you found this article, you probably had the same question: Breeding your own superworms at home — How hard can it be? Well, actually, it is rather easy to breed your own superworms if you follow a couple of simple steps. This guide will discuss how you can easily breed your own superworms and provide helpful tips to apply immediately to your own superworms breeding setup.
House your superworms at 70°F to 80°F (21°C-26°C) on a substrate of oat. When fattened up, separate them to let larvae pupate, and after 10 to 14 days, beetles will emerge, which 2 weeks later start to breed and lay eggs. Rotate the beetles over a couple of bins, and soon you will see your first little superworms emerge in the substrate.
The basics of breeding superworms are very easy. However, there are some things you should know to have more success pupating your worms and have higher breeding output. Understanding the beetle lifecycle and having an efficient setup will make your breeding effort more successful.
In this series of Backyard Bugs, we explore wild bugs and how you can provide a better living for them with simple things. The world population of insects and related bugs is rapidly declining. Their important role in the sustainability of life and the future of our planet is often underestimated. This series is to stimulate more and more people to be aware, to act and provide a better environment for these important creatures. We partner with companies that offer products that we think are great for you to use, and that can help you achieve your goals. If you purchase through our partner links, we get paid for the referral at no additional cost to you! Please read our disclaimer for more info.
Why you should breed your own superworms
The first question you might ask is why you should breed your own superworms in the first place. What are the perks of it? Well, there are several benefits of breeding your own superworms at home. I list a few of them here:
- It is really rewarding to feed your own grown feeder insects to your animals like reptiles, amphibians or invertebrates;
- Breeding is very easy and rather cheap to do (note: it is not always cheaper than buying them, though);
- You’re not dependent on the delivery of pet shops, reptile shops or other breeders;
- You know exactly the quality of your superworms and can adjust it when necessary; you decide how long to store them and what to feed them;
- It is more sustainable to breed your own superworms.
Although there are enough reasons to just buy them, too, you should consider these benefits for breeding them yourself. There is nothing more rewarding and easy than feeding your animals your own feeder insects. And if you have too many, you can sell them yourself to others in your neighbourhood.
Items you will need:
How to breed your own superworms at home
Now, let’s talk about why you came to this article in the first place: how to breed superworms easily. First, we look at the breeding cycle. With better knowledge about the breeding life cycle will improve the breeding success in the long term. We will then discuss the breeding setup and how you start a sustainable breeding colony. It all about creating a system that makes it efficient, easy and less time-consuming.
Superworm breeding lifecycle
Most people know the superworms because they are popular food for many exotic pets. Many reptiles love juicy superworms. It is also good food for tarantulas and a real treat for hedgehogs. But superworms are the Zophobas Beetle’s larva, a darkling beetle living in the tropical regions of central and southern America.
Like with every beetle species, they go through three distinct development stages — or life stages. It starts with eggs, which will hatch within several days under normal climate conditions. They emerge as a small larva. The larva will have several moults where they grow and fatten up. Around several weeks to months, they are ready to pupate. They make a silky cocoon and will stay dormant for 10 to 14 days. A light orange-brown beetle emerges.
The adult beetles will darken in two weeks to black beetles — therefore, the name darkling beetle. After two weeks, they are sexually mature and ready to mate, where females lay most eggs in the first 12 weeks. Now it starts all over again.
Did you know? Zophoras beetles also make great pets (especially for kids). They don’t have high requirements, and they are quite active. Besides that, they are a waste bin for food leftovers, like banana peels and unused vegetables. These beetles are awesome to keep, and the benefit is that you can feed a larva sometimes to one of your other exotic pet species.
The superworm breeding setup
A good breeding setup is an important success factor in breeding superworms. The breeding setup exists of three main parts: The beetle enclosure(s), the pupation room and the larval rearing bin. Normally when you start a breeding colony, you start with larva. That is because they are normally sold as larva at the pet shop or the online breeder.
1. The larval rearing bin
When you order your first superworms larva, you can place them in — what I call — the larval rearing bin. You can use any plastic storage bin for this purpose. You don’t need a lid if the walls are high enough (around 3¼” / 8cm). Some home breeders use a storage drawer cabinet for this purpose. Make sure it has at least some surface to keep a considerable amount of larvae.
It is best to cover the bottom with a layer of oats. Then you can place the larvae in it. You can add some hides in it, but be careful that you do not make it possible for the larva to climb out. They like the dark but will find that already in the layer of oats. To be sure, you can prevent any escape by placing a lid on the bin. But when you do, drill some holes in it for ventilation. Otherwise, your larvae will suffocate over time.
GOOD PRACTICE TIP: If you want to speed up the development of your larva, keep them warm around 75-80°F (24-26°C). Superworms normally live in tropical regions and do best with warmer temperatures. However, if you want to feed them and keep them in the larval stage, just keep them at room temperature. They can live more than 6 months as larval when you keep them at lower temperatures.
2. The pupation room
Once your larva is full-grown and full-fed, it is time for them to pupate. However, if you leave them in the bin with all the other larva, they probably don’t pupate. And when occasionally one does, they may be damaged by the other larva. So, it is time to move the larva to the pupation room.
The pupation room is a room with many pupation chambers where every larva is housed in one chamber separately. You can use different types of enclosures for this purpose, but the most popular ones are plastic portion cups with lids or a tackle box/plastic compartment box. Just place a single larva in a cup or compartment. Don’t forget to drill or pinch a ventilation hole for each chamber!
Do they need anything else? Well, actually, not really. You don’t have to provide them with any food or substrate. The only thing they need is darkness and warm temperature (around 75-80°F / 24-26°C). To keep them dark is really important. If they are kept where it is still light, they won’t start to pupate. Normally, the larva will tunnel themselves in a piece of wood where they start to pupate. In the piece of wood, it is dark and warm. It is important to simulate the same conditions.
Someone did once an experiment with different conditions to see in what conditions the superworms would pupate the fastest. It turns out that larva without any food available will pupate faster than larva with food. It seems that providing them substrate won’t make much difference. So if you want to provide them with a substrate is up to you; however, be aware that substrate is often a food source for larva as well, and can slow down the process of pupating.
After several days they will start to make a cocoon (and this can go pretty fast). One day it is a larva, and the next day it is a cocoon.
GOOD PRACTICE TIP: When you see a larva laying dormant in a C-shape or O-shape (head to tail), it is probably ready to pupate. Often you find a cocoon in the next 2 days.
Some breeders will place the pupae in a separate plastic bin where they can hatch. It works fine to hatch them in a bin where they can live as beetles. It makes pupation chambers available for new larva quicker. However, there is a chance that when a beetle emerge sooner than others, that it may nibble or eat on another pupa. This damage will kill the animal. Therefore, others like to keep them separated in the pupation chambers until a beetle emerges and then place them in a beetle enclosure. Although it takes more room for longer, the breeding success will be higher.
3. The beetle breeding enclosure
The last step in the process is the actual beetle enclosure. This is the end and the beginning. When the pupae hatch into beetles, you must place them in a larger plastic container/tub. In this enclosure, too, you should place a layer of oat substrate. Add some shelter and hiding places. Use paper toilet rolls or egg flats to create these hiding places and increase the enclosure total surface. Beetles really appreciate these items in their enclosure.
Within two or three weeks after they emerge from the pupa, they will be sexually mature and ready to mate. Let them be, and they will lay a lot of eggs. Beetles will lay most eggs in the first 12 weeks of their life, but they can easily get much older than 12 weeks.
One challenge is that beetles are known to scavenge their own eggs. So, after two weeks when the first adults are sexually mature (so around 5 weeks after the first emerged), you have two options how you wish to continue:
- Rotate the adult beetles over multiple bins — You can rotate the beetles over multiple bins every two weeks or so. This way, the chance that they eat their own eggs is limited, and you have higher breeding success. In the end, it is about getting as many superworms as possible, right.
- Keep the beetles in the same tub to the end — You can keep the beetles in the same enclosure as well, especially when space is limited. To prevent, however, that beetles will eat their worn eggs, you should place a much thicker layer of oats in the enclosure. Around 2″ / 5cm will do the job. Because the beetles walking and stirring the substrate, the eggs will slowly sink down.
GOOD PRACTICE TIP: Although you normally don’t see them fly or don’t have functional wings and can’t fly, sometimes there is one that magically can (reversed evolving?). Best to keep your beetles in an enclosure with a lid on it. They are pretty good escape artists, and you probably don’t want beetles walking all over in your room.

How much superworms to start your breeding colony
How many superworms you need to start a sustainable breeding colony with depends on the output you want to achieve. If you just want to feed a single or couple of animals with your own bred superworms, you don’t need much to start with. If you start with too many, you have an excessive amount of superworms in the end.
However, because of the slow(er) breeding process of superworms, it takes some time to get rewards for your effort. If you start with 50 larvae should give a proper amount of superworms at the end of the process. You can easily upgrade or downgrade your setup.
When upgrading your setup, you need more enclosure space (or try to increase the breeding output). This will normally take more space and effort. Downgrading is easy. Feed more superworms, don’t let many pupate into beetles again, or let beetles scavenge more eggs to reduce the amount of superworms hatching. It highly depends on your needs, time and money what you wish to do.
Related read: General care of feeder insects
How to care for superworms
The care of the superworms, pupae and beetles during the process is quite easy. If you have made a setup as discussed above, there is not much to it. There are some points of attention that will keep your superworms and beetle healthy and thriving. And healthy superworms are better food, and healthy beetles will reproduce more.
- Keep them well-fed: Provide enough food for your animals. This way, you keep them healthy, and healthy animals are healthy feeder insects.
- Keep them hydrated: Important to provide food sources that contain some amount of moisture. They need it to be kept hydrated. Without any moisture, they will quickly die.
- Prevent overcrowding: Too many animals in one enclosure is never a good idea. Overcrowding will stress your animals, or they can even damage each other. If you have too many animals then that you can house properly, you need to decide to feed some more, sell some animals or upgrade your setup to house more animals.
- Try to provide an optimal climate: Remember that these animals normally live in tropical regions and need a climate that matches those needs. You should keep them above 20°C so that they stay healthy and thriving. For optimal breeding results, you should keep them in temperatures around 75-80°F (24°C-26°C)
- Don’t disturb them more than necessary: Let them be most of the time. The less disturbance, the better. Pick certain times a week when you do select them, feeding them and observe how they develop. The rest of the time, leave them be. Don’t place them at a location where there is much vibration (running kids, music, other sounds).
GOOD PRACTICE TIP: Never place superworms in a refrigerator like you typically do with mealworms. Superworms are tropical creatures that only survive in warmer climates. Temperatures like the of a refrigerator will damage and kill your superworms. Besides that, superworms can be kept healthy and alive for six months at room temperature without them starting to pupate.
4 superworms breeding mistakes and how to prevent them
- Provide enough hides for your adult beetles — If you don’t provide enough hides for your adult beetles, they won’t thrive that well and don’t lay many eggs. They prefer dark and small spaces. Just place some carton egg flats in the enclosure to create hides for your beetles, and you will soon see much more breeding result. Hiding places and an increase of effective surface also prevents overpopulation, which negatively impacts the breeding result.
- Not hydrated enough — One of the biggest problems is that you don’t keep your animals hydrated enough. Especially the first batch that you receive from the pet shop needs to be well-fed and hydrated before placing them in the chambers of the pupation room. Even when they have a good size, let them feed and rehydrate for a week or two before you start to separate them into little chambers.
- Feeding baby superworms — When your superworms hatch, they immediately need proper food and moisture. However, if you place only one big piece of fruits or vegetables in the rearing bin, they need to travel a distance that is too long. Often this will result in a massive die-off of your baby superworms. Instead, scatter many small chopped pieces of fruits and vegetables throughout the bin so that every small worm can easily find good food.
- Not dark enough — Does your superworms don’t start to pupate? Do your beetles don’t lay many eggs? Probably they have (still) too much light in their enclosure. These animals like it very dark (especially when you want them to pupate). If they don’t pupate soon enough and don’t have any food/moisture available in the pupation chamber, they won’t survive. You eventually find dark brown and black worms, which mean they died. Also, beetles will lay more eggs when kept relatively dark (it’s almost the darker, the better).
GOOD PRACTICE TIP: Do you have too many superworms? Try to feed them, sell them and lower your production output. Never release superworms in the wild. When they survive and multiple in nature, they can become a pest animal, competing with or driving away wild species.
Breeding superworms on a larger scale
Want to scale up your breeding setup? Have a higher breeding output so that, for example, you can sell superworms or feed a large number of animals?
You know the basic principles of breeding superworms when you have read the information above. And it is actually the same with breeding on a larger scale. However, you can achieve a high breeding output by having a good system. A proper superworms breeding system — also called a superworms breeding farm — exists of two major aspects.
- Have multiple lines of breeding groups — You start with one single line of breeding superworms: Larval rearing bin – pupating room – beetle breeding enclosure. Once you have found a good routine to it, start a second line of these three elements. Does that work well? Start a third. And so on. You get the point, right. It is a modular system that you can easily upgrade as you wish.
- Have a good care administration — However, with more enclosures and breeding pipelines, you need to find a way to keep an overview of what you need to do and when. A good administration/registration system helps you do the right actions at the right times. If you have a good registration, you don’t have to worry and only take actions when needed. This way, you stay efficient with your time.
Other feeder insects to breed yourself?
If you like to breed other feeder insects at home, I’ve written other guides on breeding feeder insects. Have a look at one of these!
– Breeding (Feeder) Locusts Successfully
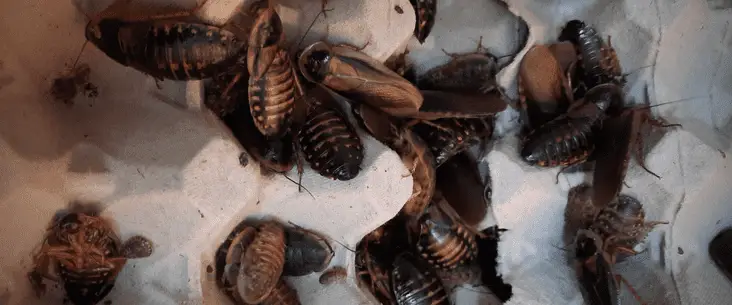
– How To Breed Dubia Roaches
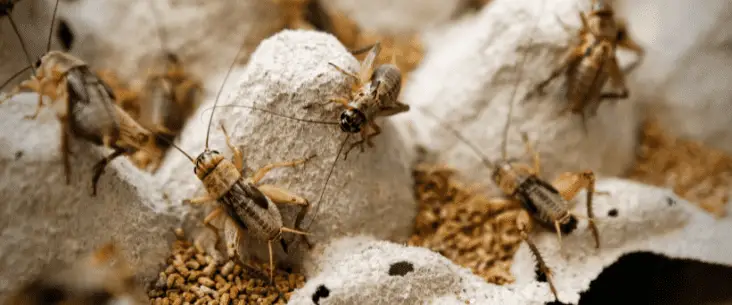
– Breeding Crickets At Home
– Easy Springtail Breeding: I Never Buy Them Again
FAQ about breeding superworms
Share this page!


